OK – I have a new haircut – from the ever so lovely Miss Betty at “It’s Something Hells” salon. She really is a marvel – she lightened my hair by a few shades and gave me a great cut which really helps the setting process. Cutting it myself, whilst cheaper, doesn’t really do the same job! She is also an absolute whizz at styling hair so I watched her technique as carefully as I could. I’ve honestly never seen anyone whip up a pageboy from some basic curls so fast, she really is amazing.
Anyway, now I have a decent cut I thought it was time for a quite tute and have decided to try and recreate one of Betty’s classic styles – a pageboy with a side waved fringe.
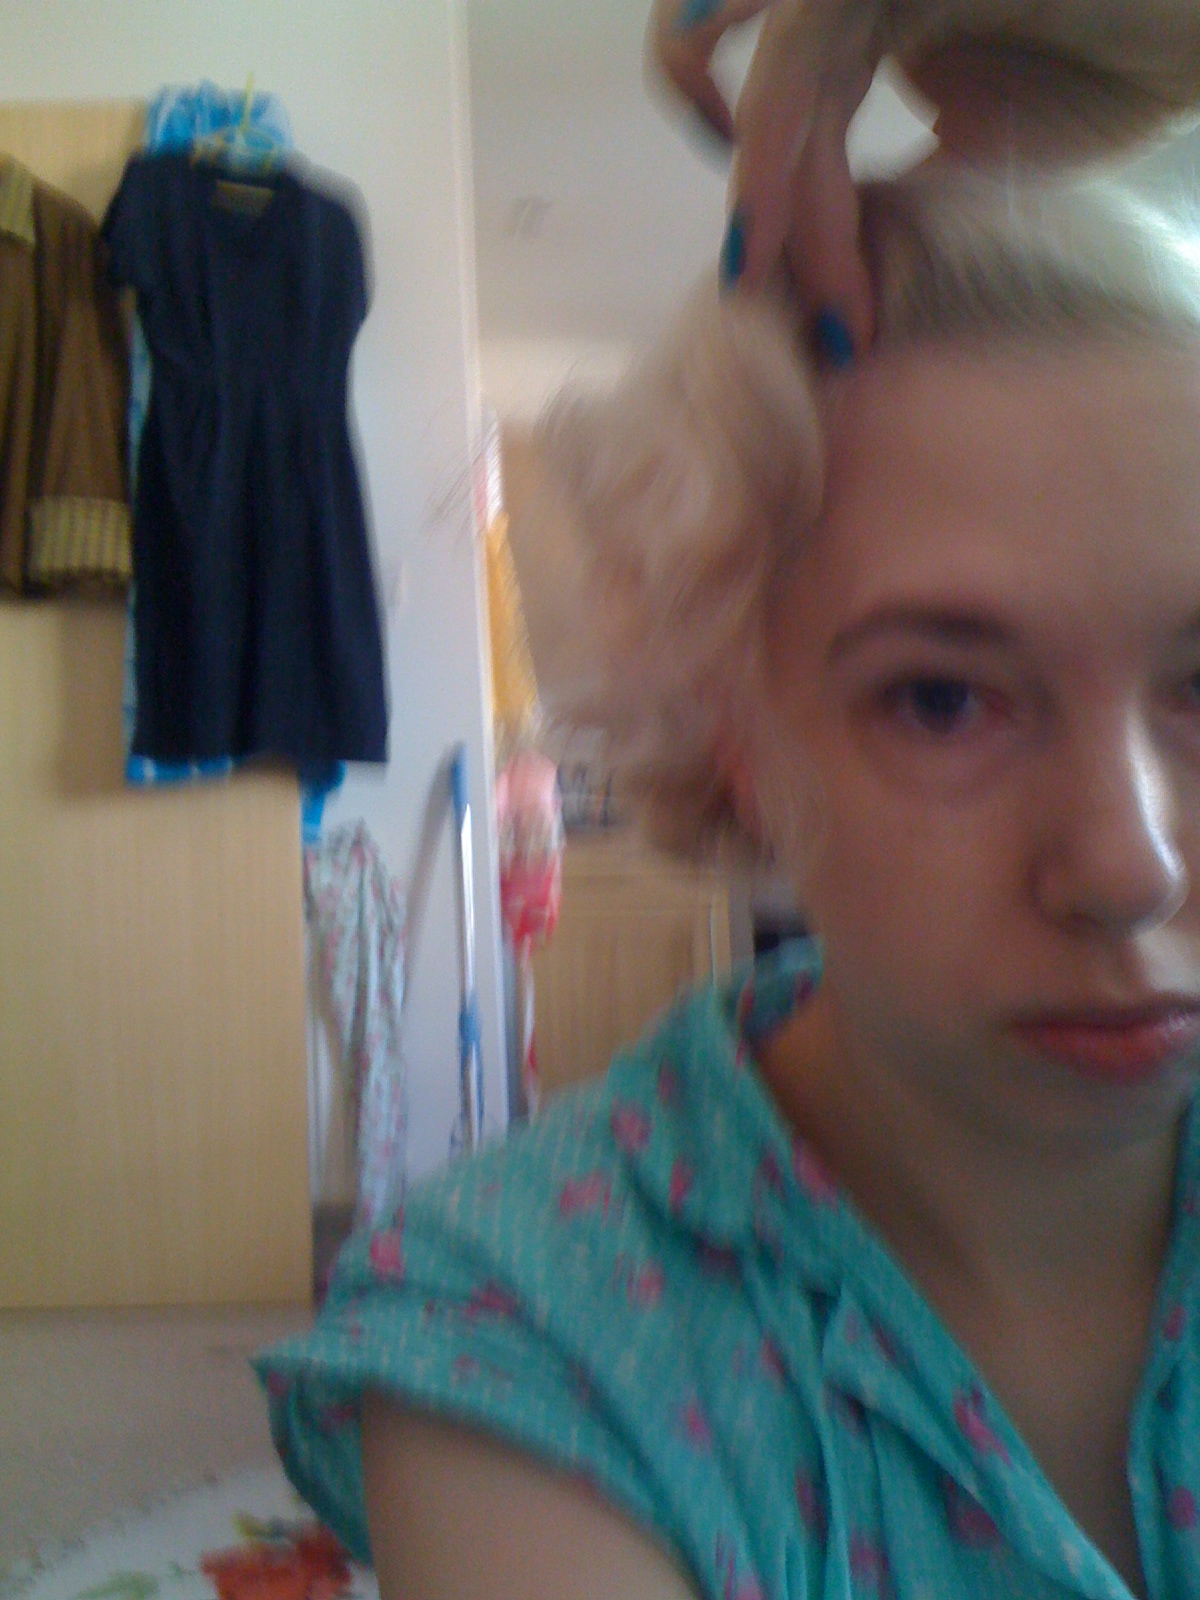
Here is my hair post Betty-ing:


When Betty did this for me in the salon she used a curling iron and some hot rollers on my dry hair. The style lasted until pretty well but my hair isn’t a real fan of heat styling and so I wanted to try this with a wet set and perm rods. (You can see that my hair is wilting in the pics above if you look at the ends, I like a tighter style.)
To do this you need:
rollers (perm rods preferably but sponge rollers would work too)
setting lotion
sectioning comb
boar bristle brush
round brush
hairspray
bobby pins
combs or clips, or a hairflower.

So, on damp hair with setting lotion applied I first put in the deep side parting. Then, sectioning off each side behind the ear I rolled one roller into each of the side sections at an angle rather than straight, the higher end toward the front. The hair should be rolled under the roller.
I then rolled the top section (and you only want this section to be around 3 inches deep) into a barrel curl (I used a mascara tube for this and then slid it out to pin). The hair should be curled backwards, away from the face.
You could use a roller for this too but as the fringe section is the real focal point of the ‘do I wanted to keep it as free from lines and bumps as possible.
The back was then set in one row of rollers with the curls directed under, rolling no higher than the nape on the neck.


If you have thick hair you may want to do two rows but please try and roll no higher than the nape of the neck. The back of the hair needs to be as smooth as possible for this style to really work.
Also, if you have two sizes of roller – use the smaller on the top layer and the larger below. This sounds odd but it will help the top layer of hair hug the larger bottom layer to create a pageboy puff.
So, once set I put on my glamorous hairnet and went to bed.I'll spare you a picture of that, cos I'm kind.
In the morning I took out all the rollers and fluffed the hair up with my fingers and then, before starting the styling process I sprayed everything with a medium hold hairspray (Ellnet is good for this as it brushes out). This lends some pliability to the hair, making it easier to mould it into shape.
You then want to brush through a few times with your paddle brush before taking your round brush and using it to curl the hair under, toward the face. I find it best to start at the back and work my way round to the sides. When brushing out the side sections try and angle the brush so that the curl is angled higher toward the face and lower at the back. This helps to accentuate the “U” shape of the style, giving it a 40’s rather than an 80’s look.
Then pin or comb the sides back behind the ears.
Once this is all pageboyed under and pinned – and it might take a few attempts, don’t panic – you can start on the top wave. First brush this straight up in the air with your paddle brush, this helps to create volume at the roots so you can get the lovely curve of the first wave.
Then shape the first wave by putting your hand under the hair and brushing the hair over it a few times. Here, with a bit of moulding, you should be able to shape the first wave. You can either hold this in place or clip gentle with a sectioning clip (I find hands work best).

You can then decide what to do with the second wave. Today I brushed this down and created a large roll. You can also form another wave like Betty did, again by holding and shaping, or you could even shape a main wave and then mould some little curls (again curled round a mascara tube) as in some of the photos below (same set, but yesterday).

The great benefit of that earlier spritz of hairspray, a trick from Miss Betty herself, is that the hair is stiffer and easier to shape as you work. A bit like the second day of a set when everything is much less slippery and much more manageable.
Once happy with whatever you got going on at the front, and often your hair decides this for itself, pin if needs be and if not shellac the hell out of it with a damn fine hairspray like Tresemme freeze hold (taking care not to spray it directly in your ear like I did this morning – I think I’m still a little deaf).
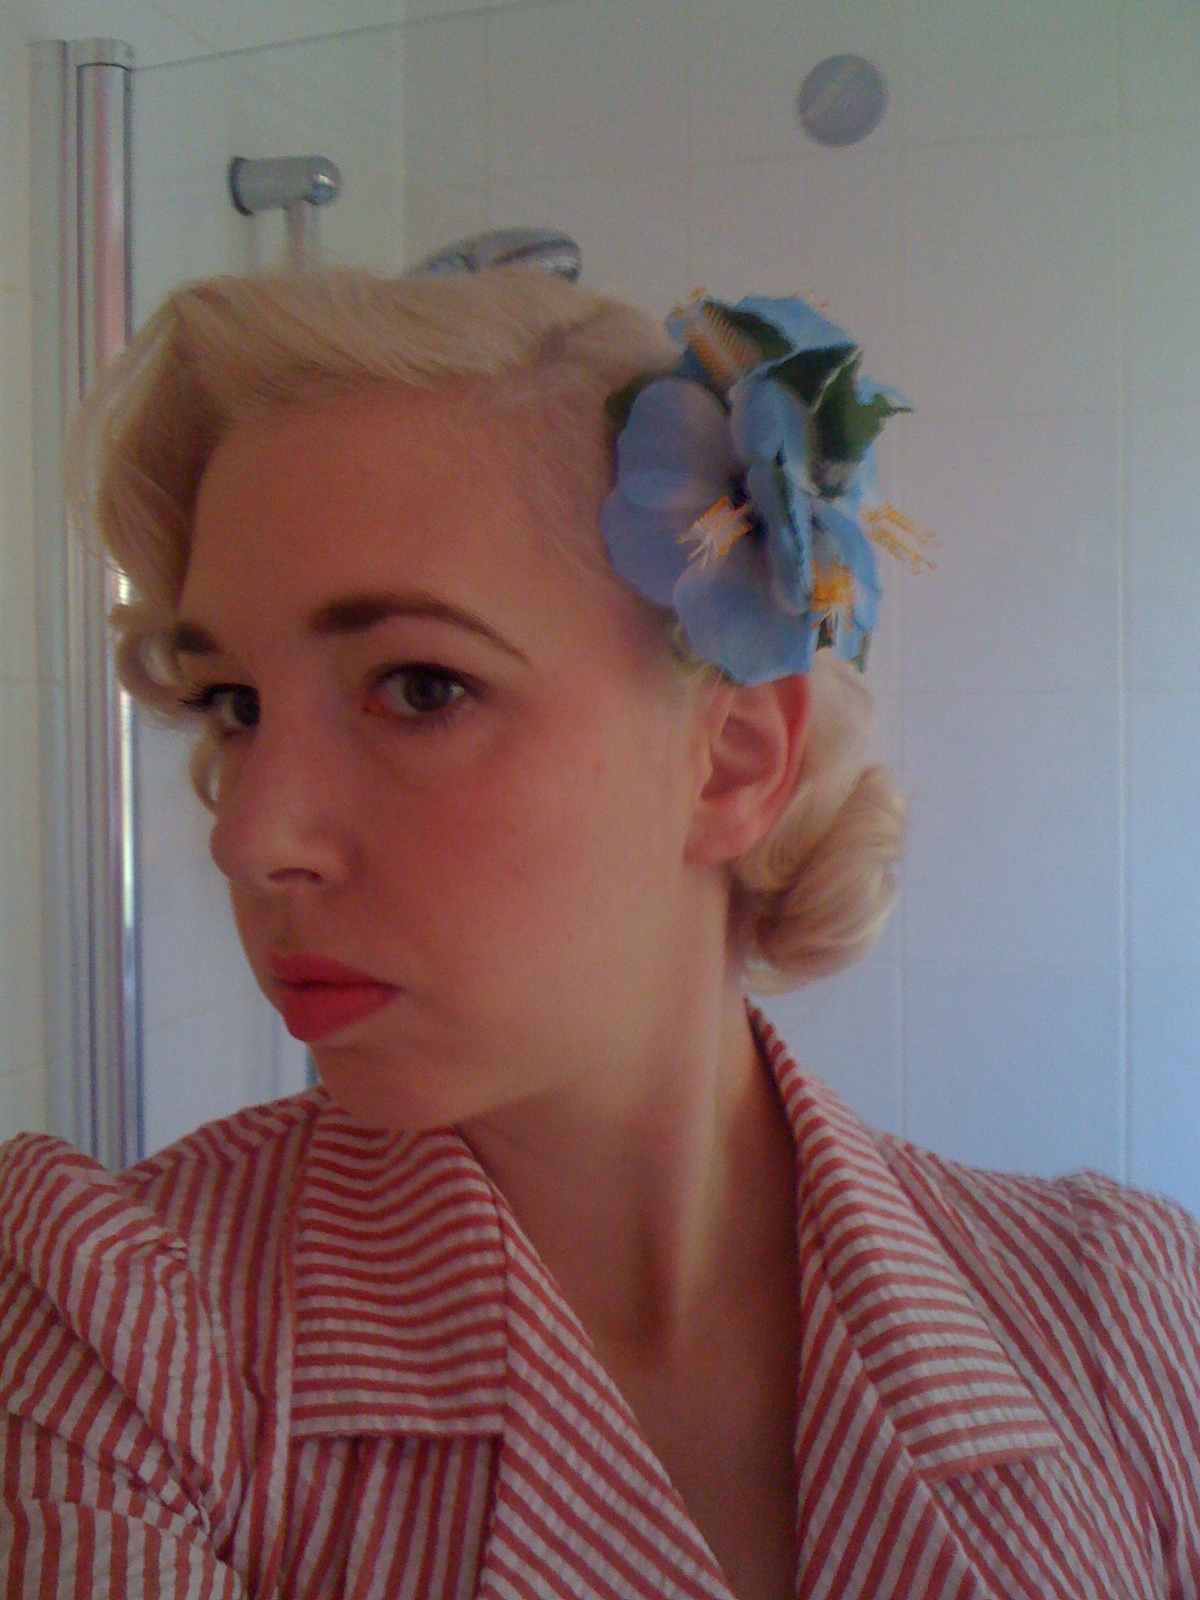
These are two of the finished results from the same set:


